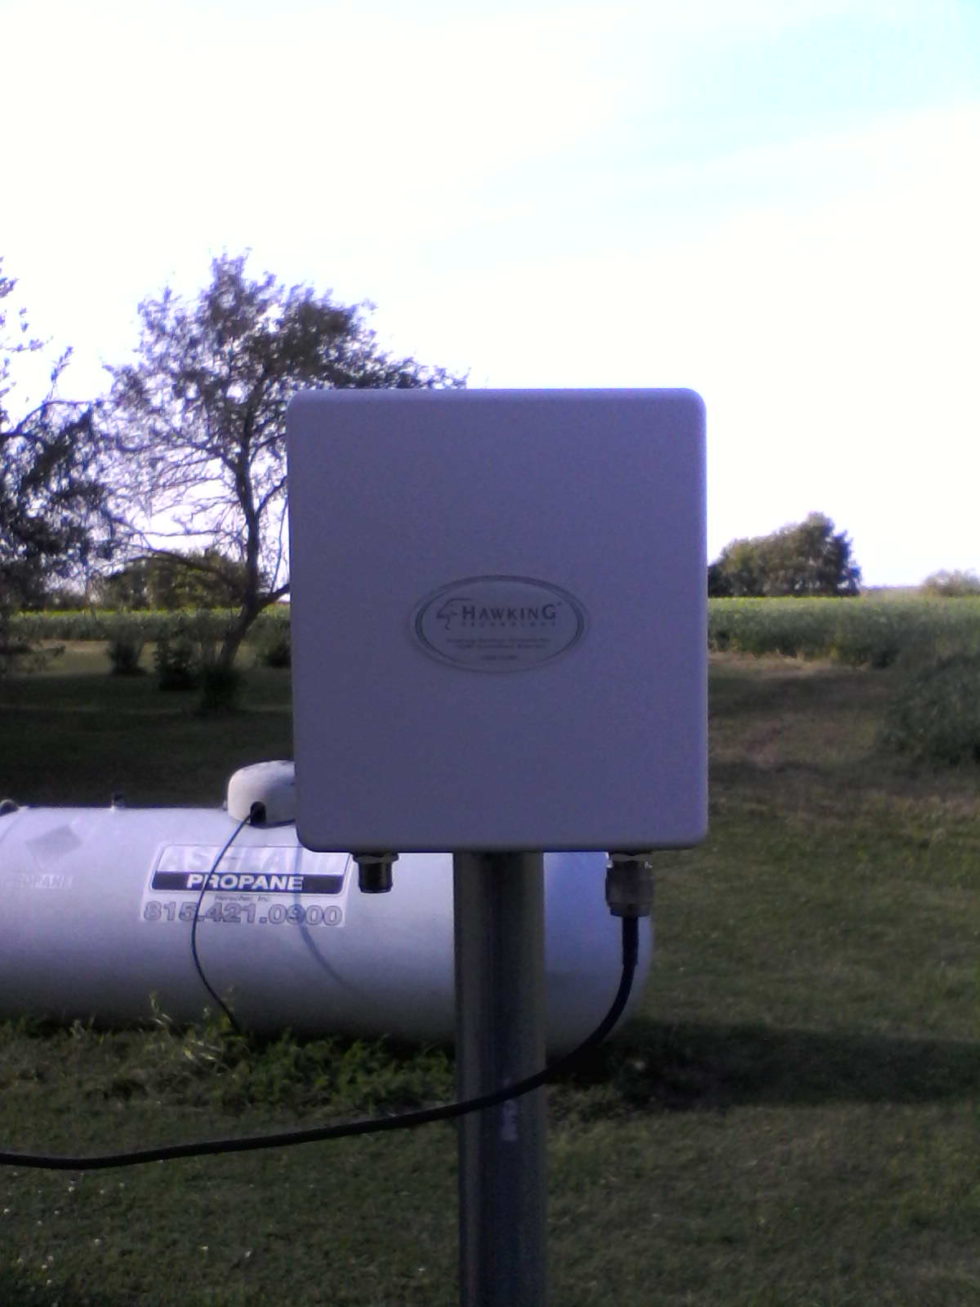
The first installment has a different name and can be found here. My Hawking antenna showed up and I took some time to install it. Of course it only offered a wall mount using flimsy plastic stuff. No way that was going to hold up on a pole away from the building when those 65 MPH wind gusts came up. Thankfully my previous antenna came with pole mount brackets I could re-purpose.
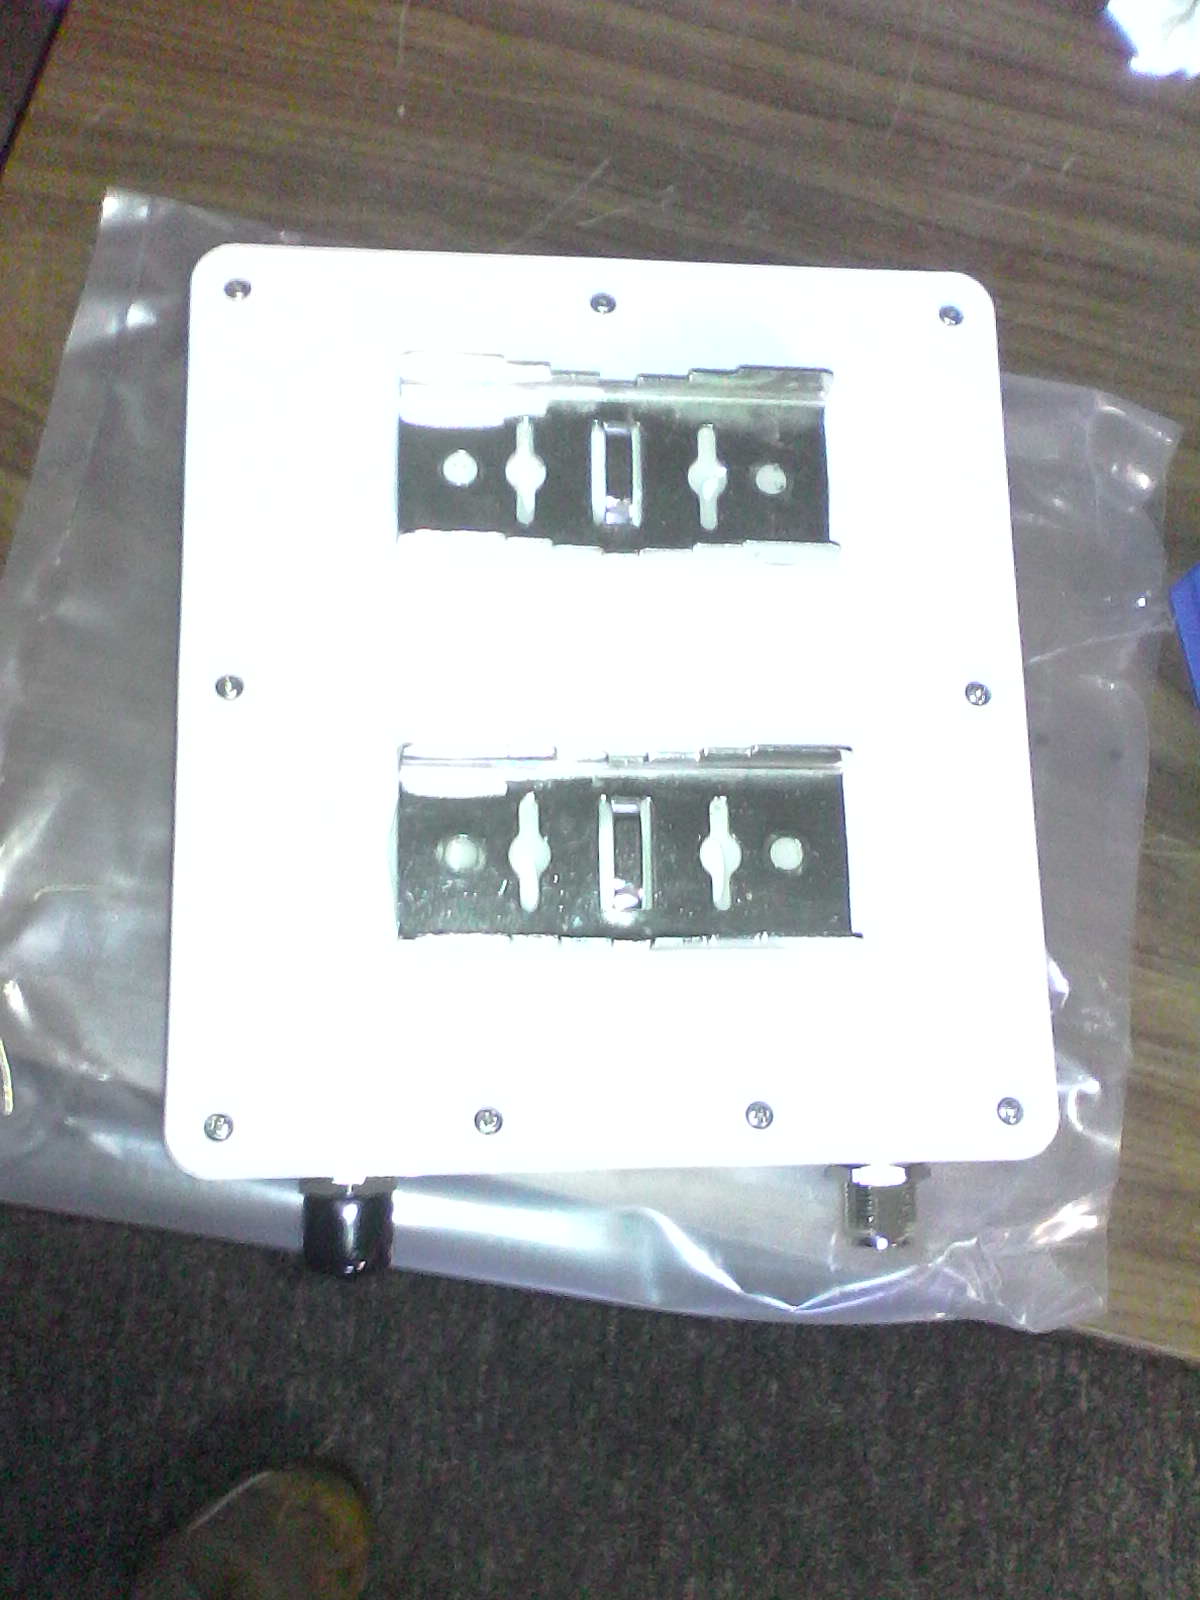
Of course I had to glue them on. Thankfully I still had a part bottle of GO2 glue. That stuff is amazing. Knock on wood, I haven’t made a mistake with it where I had to try and get the stuff off. I don’t think it is possible. I gooberred on a bunch and pressed the brackets down as solidly as I could. Then I went out and cut brush for 3 hours while leaving the ceiling fans on in the office. I wanted it fully cured before I put the antenna on the pole.
After that I just had to put the hose clamps back on (hey! they held for many years and weren’t the least bit rusty) and put the antenna on the pole.
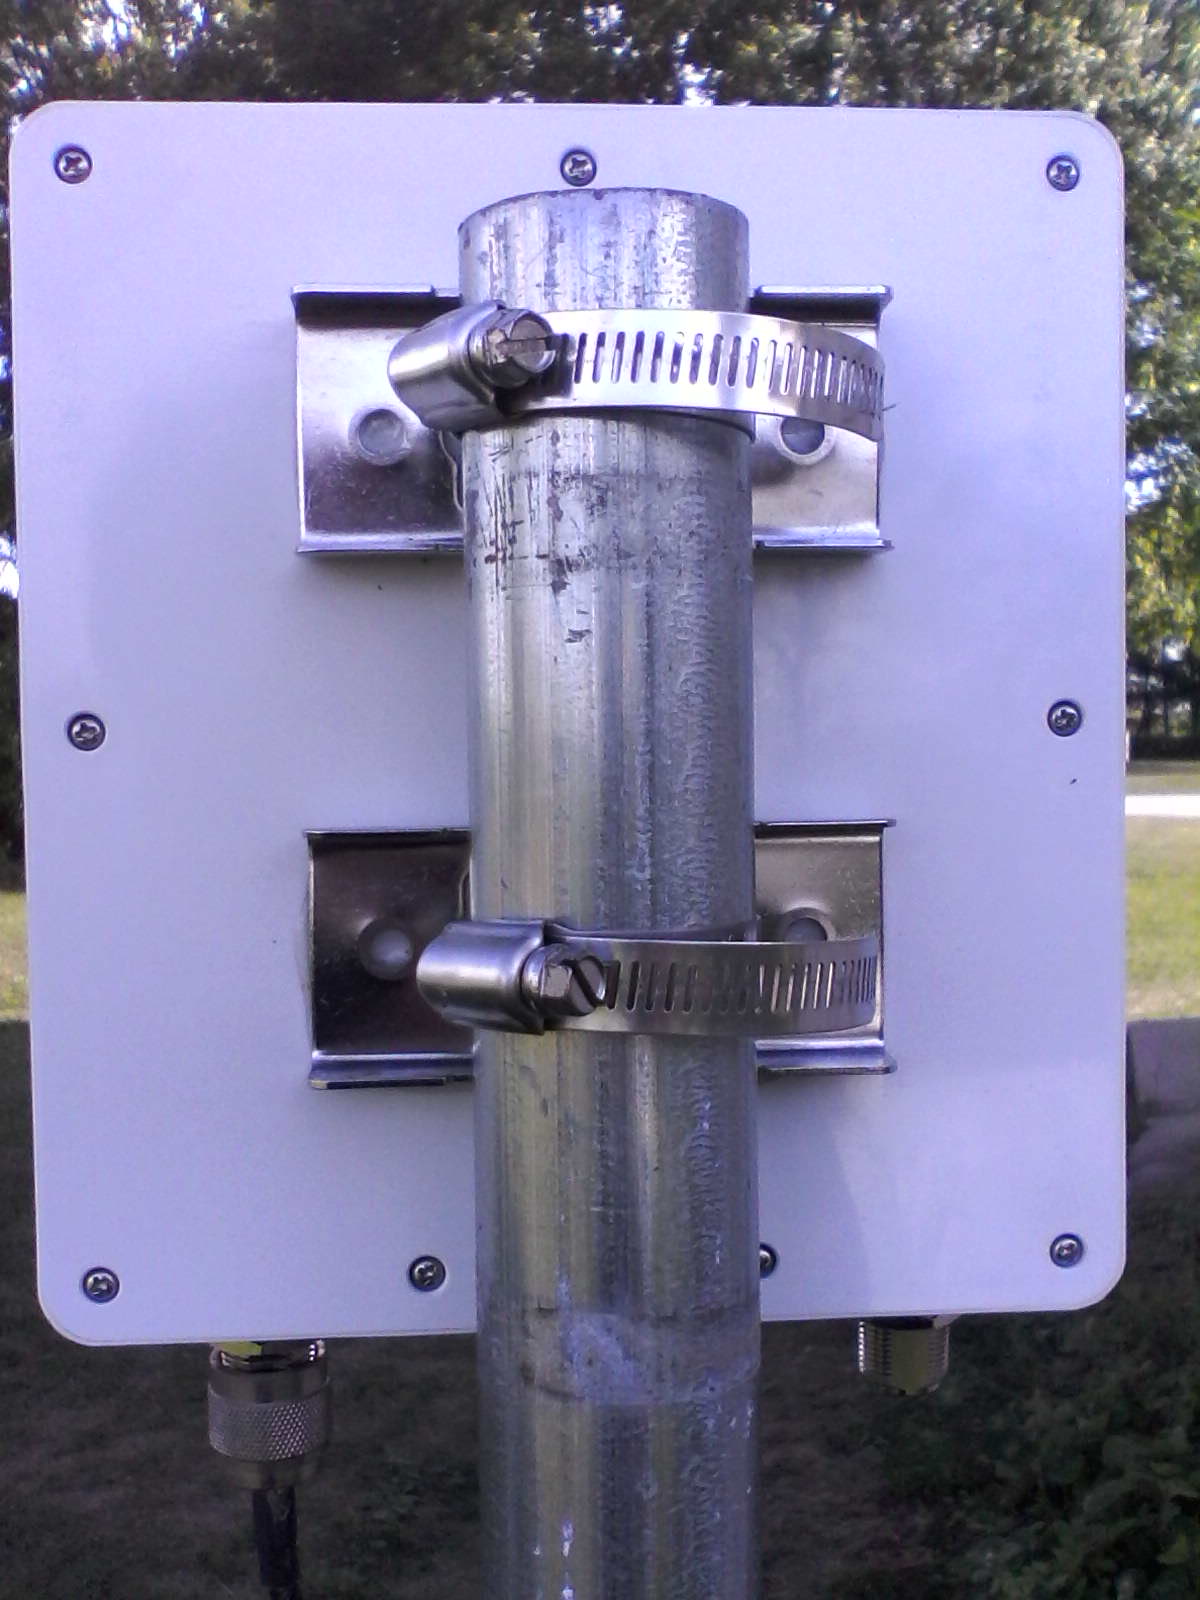
You will notice I only have one of the antenna cables hooked up. My previous antenna only used one so for now I still have the hokey indoor antenna hooked to the other port. I did order a new cable from MCM Electronics, but it is on back order for at least 14 days. When that comes in I will get around to drilling another hole and threading the cable through. As it stands now though, my network is working much better. The signal strength doesn’t appear that much different when I look.
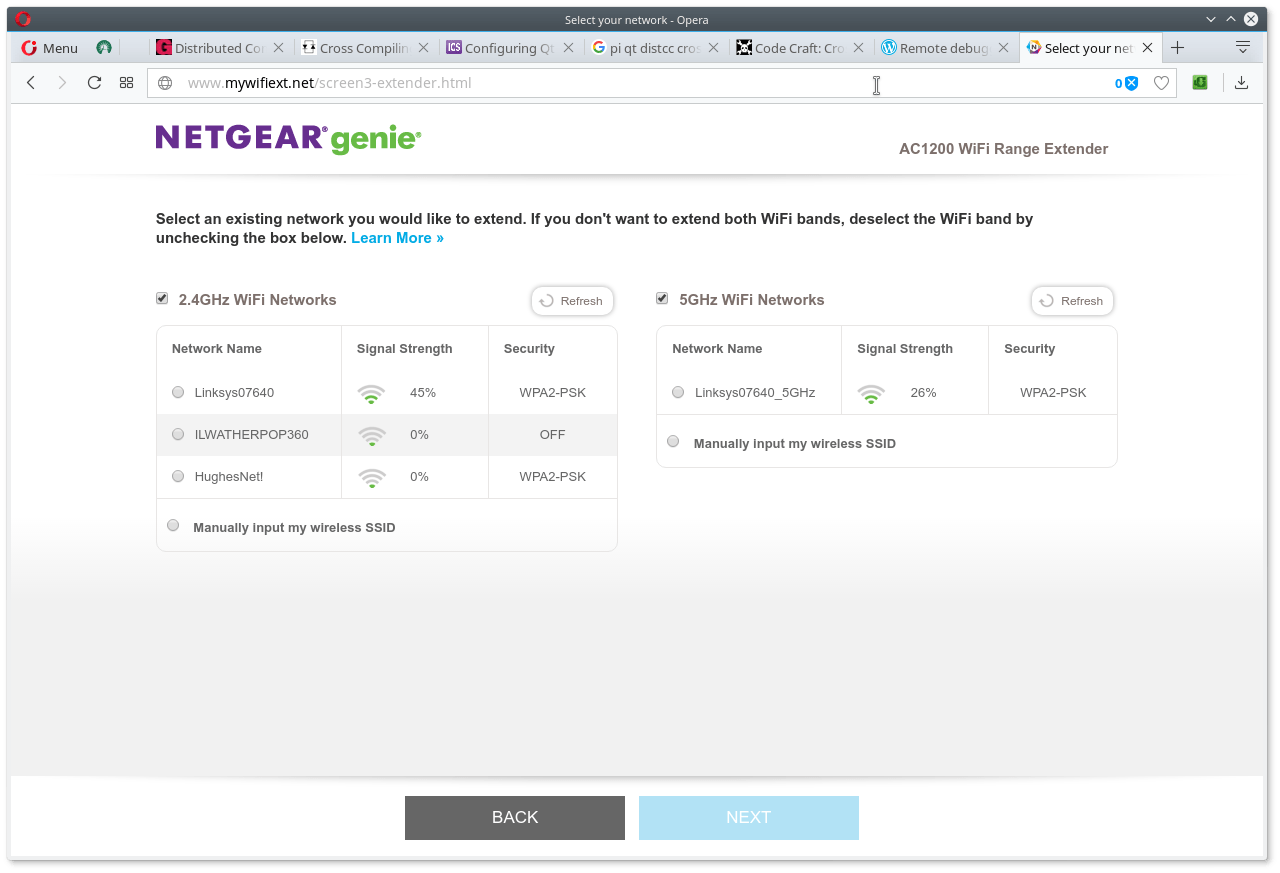
Honestly, my previous ancient antenna was 16dbi and this is only 12 so I expected it to be somewhat worse with the 2.4Ghz band. The 5Ghz improved though and I expect to see real improvement once both antenna are using the outdoor antenna.

